

Blog
Perfectly prepared for the coming indoor season
The hot summer days are over and outdoor growing is coming to an end. In the warm summer months, especially in countries like Spain, many growers decide to shut down and suspend their indoor growing because it is complicated and expensive to keep the temperature in the grow room at an ideal level or because it is not possible to take care of the grow during the holiday period. Outdoor growing is also cheap, because sunlight costs nothing, and high-yielding, because many plants can reach their full potential here. As the outdoor growing season draws to a close, it is the perfect time to prepare and thoroughly clean the indoor grow room. At the same time, all electrical equipment and accessories should be checked for proper functioning and replaced if necessary.
The end of summer is the right time to prepare for the next indoor grow.
This is what you need for a basic cleaning in the grow room:
- Clean cleaning cloths, microfibre cloths
- A mop with a new attachment
- Bucket
- Nitrile gloves (tear-resistant, extra strong)
- new dustpan and new small broom, hoover
- Cleaning agents/disinfectants: bleach, hydrogen peroxide, all-purpose cleaner, alcohol cleaner
Basic cleaning of the cultivation area
First you should unplug all electrical devices in the grow room. With the exception of the fan, which can continue to run so that any vapours produced are extracted by potent cleaning agents (e.g. bleach). It is also best to remove the grow light and clean it thoroughly elsewhere. Remove all plant pots, trellis nets and other components from the grow room/grow tent. This makes it easier to clean the entire grow room.
First, roughly sweep the floor of the grow room and remove dirt, possibly old leaves and soil. An industrial vacuum cleaner is also excellent for this, but make sure that its filter is not contaminated with possible mould. Once everything has been removed from the grow room and all visible dirt has been removed, we move on to the next step.
Now clean all surfaces and walls of the grow tent with a (clean) cleaning water and cloth. Start at the top of the grow room and work your way down. Do not leave out any surface and also clean all parts of the lamp if it is still hanging. Then clean the floor of the grow room with a (new) mop and clean cleaning water.
If there was a more severe pest infestation during the last indoor grow, you should now consider using an insecticide bomb, which works on the entire grow room without leaving out any spots. The same is available as a fungicide. The fungicide bomb automatically sprays the entire contents after it has been activated. The fungicide spreads evenly on all surfaces. During this process, you must not be in the growing room or in the same room yourself. Depending on the manufacturer and the active ingredient, the room must not be entered for 2 hours or longer. If you are using an insecticide or fungicide bome, you should switch off the fan for a few hours (6-24 hours) to avoid affecting the results. Always follow the manufacturer's instructions and the packaging carefully. Ventilate the grow room sufficiently and activate the fan before re-entering the grow room after treatment.
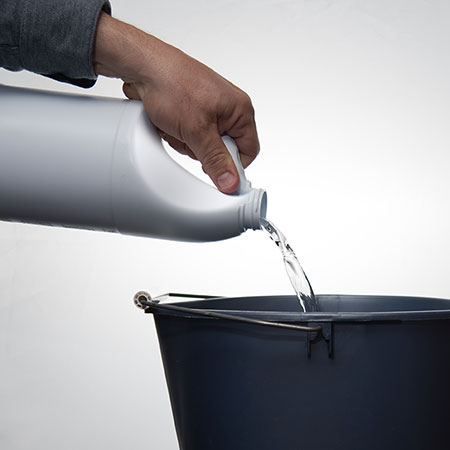
Next, we need a bucket of clean, hot water with about 5% bleach. With this mixture and a cloth, all surfaces, components and the walls of the grow tent are cleaned again. If you are using a whole room as a grow room, this may be a little more difficult. Depending on the wall paint used, the walls can be washed off. You may also be lucky enough to have a fully tiled grow room. If the walls are dirty and you may have had a fungal infestation during your last grow, it makes sense to repaint the entire room.
Cleaning the plant light
When cleaning the plant light, be sure to handle the lamp with care and do not touch it with bare hands. If the NDL or MH lamp has more than 10,000 operating hours, it should be replaced. LECs/CMH lamps should be replaced after 20,000 hours of operation to achieve maximum efficiency and yield. You can remove dust from the lamp by using a soft cloth or microfibre cloth. Clean the cable carefully with alcohol and kitchen paper.
The reflector is best cleaned with vinegar water (3 parts vinegar and 100 parts water) and a soft cloth. It can then be cleaned again with a solution of water and a little chlorine bleach to make sure that all germs and spores are removed.
Caution: Never mix vinegar, water and chlorine together in a bucket. When chlorine bleach is combined with vinegar or other acidic cleaners, harmful chlorine gases can be produced. When using these powerful chemical cleaners, always ensure that they are used correctly according to the manufacturer's instructions. Always use gloves and protective goggles when using bleach or hydrogen peroxide. Also ensure good ventilation and keep the fan running while using these products.
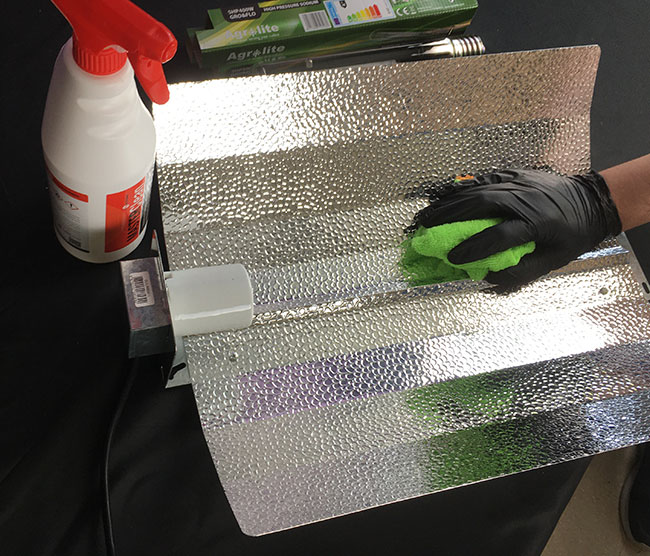
After cleaning, the reflector should be as clean and radiant as possible so that it can distribute the light perfectly and bring it to the plants.
Cleaning plant pots
First knock and brush as much soil and dirt from the pots as possible. Then rinse all the pots with water and roughly pre-clean them. Remove stubborn build-up with a scouring pad. The next step is to place the pots or even plant pans in a large tub with a water-bleach solution (10% bleach). After about 2 hours, the pots are removed from the tub and rinsed with clear clean water. Smartpots or similar textile pots can even be washed in the washing machine.
Cleaning hydroponic systems
With hydroponic or aeroponic systems, a little more effort is necessary, because hygiene is an enormously important point. Professional growers use special disinfectants or a solution of hydrogen peroxide and water to clean and disinfect hydroponic systems and accessories. In this case you should also wear gloves. We use a very strong solution with H2O2: 2 parts water with 1 part hydrogen peroxide 3%. This strong solution can disinfect the whole system. We run the solution through the system for 1-2 hours. Instead of hydrogen peroxide, a solution with chlorine bleach (5%) can also be used here.
Adhering dirt and "mineral salt rims" must also be removed with a scouring pad.
Make sure that all water pipes, lines, tubs and filters are thoroughly clean before putting the system back into operation. It is advisable to take this opportunity to check all pipes, water pipes and connections for proper functioning and possible damage.
Clean the ventilation system
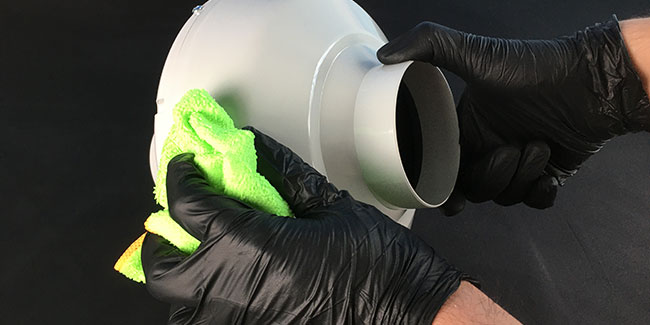
Switch off the fan before working on the ventilation system. Remove all external dirt and dust from the fan and the ventilation pipes. Remove the pre-filter of the activated carbon filter and wash it in the washing machine. If you have an insect filter in use, this is also removed and washed thoroughly with water and all-purpose cleaner. While cleaning the ventilation system, it is a good opportunity to check everything for proper functioning. Repair any holes in the ventilation pipe, check the connections and replace damaged parts if necessary. If the activated carbon filter (ACF) has reached its maximum service life, now is the time to replace it. This is the only way to continue to remove odours reliably and completely. The service life of an ACF depends strongly on several factors, e.g. the air humidity. At high humidity, the performance of the activated carbon filter is weaker. Of course, the type and quantity of odours also play a role, but as a rough rule of thumb, most activated carbon filters have a service life of 12-18 months.
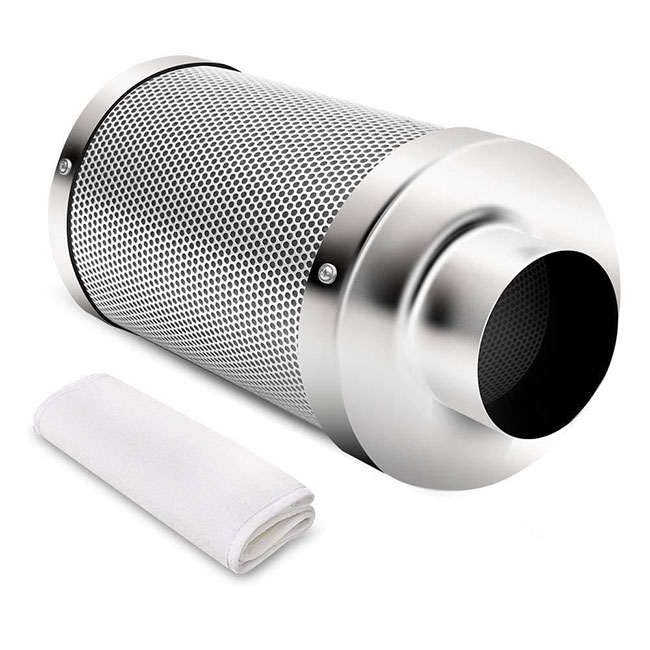
Cleaning the pre-filter is important to safely remove possible pathogens.
It also needs to be replaced and checked:
- Water filter: check regularly and replace if necessary.
- Calibrate EC and PH meters
- Check electrical equipment (pre-fan, fans, etc.) and cables.
When everything has been thoroughly cleaned, allow the grow room and all parts to dry thoroughly. Then set everything up again as it should be. Turn on the power and run all the equipment to see if it is working properly. So, now you are well prepared for the upcoming indoor season. All you need now are the right seeds. Choose a variety that suits your needs and equipment.